

Ollie is away for ten days, working in Belgrade and Prague, and I have been a bit lazy about writing the blog as a result. Whilst procrastinating in his absence, I read a disturbing article on the prevalence of pesticide-resistant bed bugs in Prague and have decided that Ollie will have to be hosed down outside upon his return and his clothes and luggage incinerated. I may also insist on him having a full body wax just to be safe. Apart from this brief bout of online time-wasting, I have actually been working really hard on my jewellery, just not compiling a blog post about it until now!

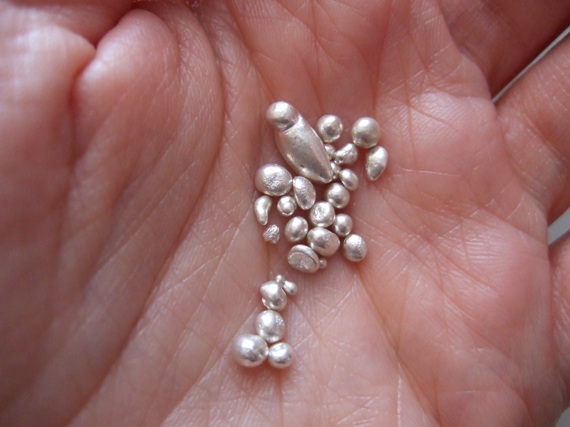
The ring I’m currently working on has been a really labour-intensive piece so far. I’ve included sketches here which feature in an earlier post, but obviously the design can change a bit, because ideas will develop through the process of making. I needed a slab of silver from which to cut the square ring shank, but you can’t buy slabs, only thin sheets. So Ignacio instructed me to go to Lampa, the jewellers’ suppliers on Via de’ Ramaglianti, and buy some pure silver granules in order to make a slab ourselves. Off I went to get my cinquante grammi d’argento puro, which set me back €28. I have to admit I felt a bit like a pirate walking around Florence with a bag of silver in my pocket. Upon my return Ignacio weighed the pure silver and weighed the copper granules to add to them. Copper is added to pure silver to make it into the alloy we know as sterling silver – 92.5% silver to 7.5% copper. Next we had to melt the metals together and pour them into a metal mould. I really wish I could have filmed the process but I had to be an attentive witness and be involved in what was happening! This video will give an idea of what the process involves, although it uses silver powder instead of the granules we used, and their mould pouring step at the end isn’t a success. Ignacio heated the crucible with the torch and added the metal granules. He kept the flame directed onto the little metal pieces until they melted into one big shimmering blob, which brought back childhood memories of a puzzle we once had at home – the Mercury Maze (imagine making a children’s toy nowadays which contained mercury as it’s central component!). He brought the mould close to the crucible so that it could absorb the heat from the torch and warned me of the dangers of not doing so. Basically the hot metal will explode out of the cold mould and you’ll end up scarred for life. Once everything was hot enough, Ignacio poured the molten metal into the heated mould and I waited eagerly for everything to cool. The slab emerged from the mould looking a bit amorphous around the edges but of uniform thickness. Ignacio directed me to put the slab through the rolling mill to flatten it down from the 4mm slab he had made to a 2.5mm slab suitable for the ring.
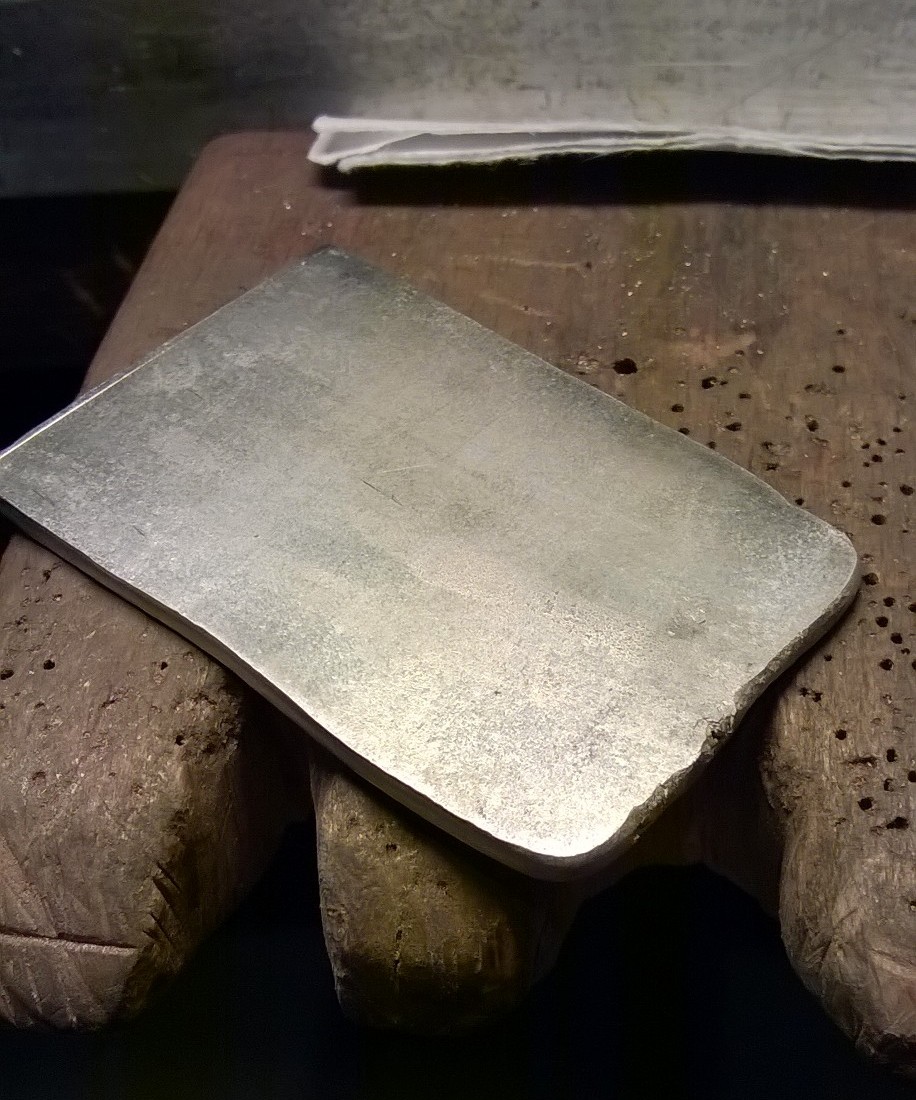
This next step turned into a bit of a comedic performance due to my lack of upper body strength. I put the slab in between the rollers of the mill, tightened the screw and turned the handle. After about five attempts I had only flattened the slab by half a millimetre, so I tightened the screw a little extra. But this time I’d tightened it too much and had to throw myself onto the handle and use my full body weight to turn it. For added entertainment value, the rolling mill is over beside the window onto Via Toscanella, where all the tourists wandering by can have a good look. Whilst dangling from the rolling mill handle I could hear the muffled voices of two Americans pressed up against the glass wondering what I was doing. I was thinking exactly the same thing. Finally, after a good twenty minute core and pectoral muscle work-out, I managed to get the silver squashed down to the required depth.
Next I had to square up two edges on the slab, in order to make a true corner angle of ninety degrees, which seemed to take an eternity of filing and measuring. At this point it was time to go home and for once I wasn’t too sorry because my elbow was well and truly out of grease. I made my way to Firenze SMN station and was very happy to flop down into my seat on the Frecciargento train. A woman with a baby boy and a blonde girl of about seven joined me. I offered to swap seats if she wanted as I would be getting off at Bologna, but she said they would also be disembarking there. Scendere (to get off) was the verb I was searching for and couldn’t find, so I used andare (to go) instead. I repeated to myself afterwards ‘io scendo alla prossima fermata’ (I get off at the next stop) for future use. The mother immediately began feeding the baby and the little girl started chatting to me and showing me her colouring book of fashion outfits that she had brought along to keep herself occupied. I couldn’t catch everything she was saying because she spoke so quickly, but her lack of inhibition in speaking to me was completely disarming. She reminded me of my own niece and nephews in Ireland and I suddenly felt such a huge pang for them! She began colouring her characters in with great energy and alternated between talking aloud to herself, me and anyone who would listen for the rest of the journey. Her attempts to persuade her mother to go for ice-cream in Bologna were met with resistance as it was pointed out to her that taxis home cost money. The little girl then suggested they could go for ice-cream and walk home which caused an eruption of laughter from everyone in earshot. I couldn’t help but admire such tenacity! Upon our arrival at Bologna Centrale, I helped her to pull her jacket sleeves the right way out as her mother packaged up the baby and his paraphernalia. She waved an energetic ‘ciao!’ to me after she jumped onto the platform and we went our separate ways. I was tempted to go for ice-cream myself after her enthusiasm about its merits, but I was too tired for all that ordering in Italian malarkey. I went home and filled my evening with labelling items in my bedroom in Italian and wondering how Ollie was getting on in Serbia.
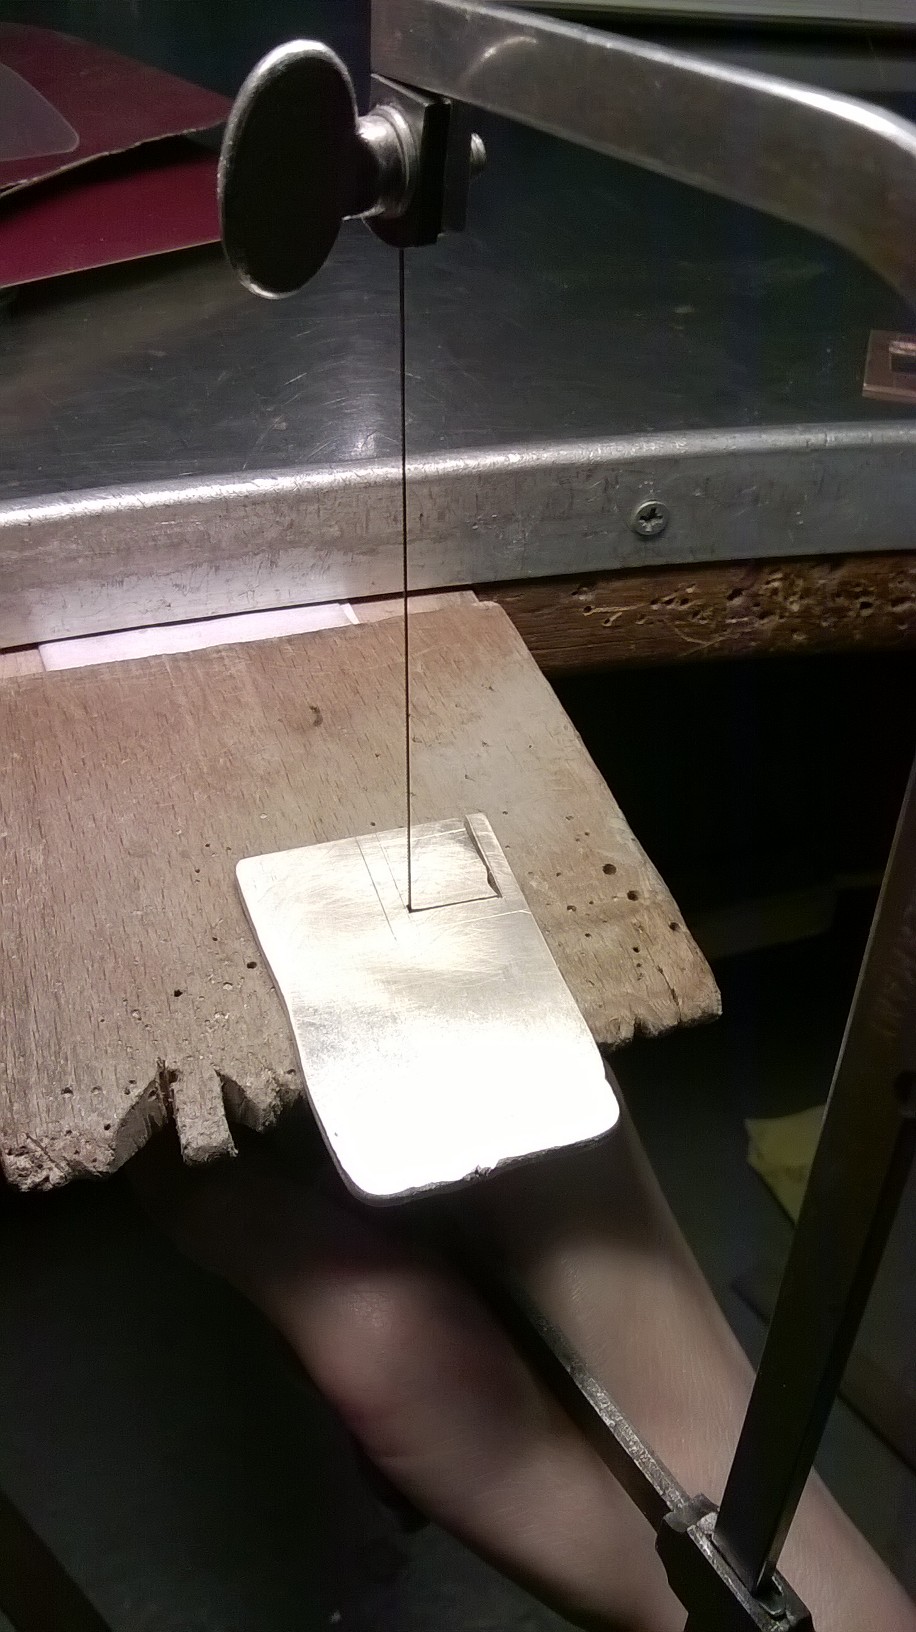
I remember Anastasia, my teacher in Morley College, telling me that my love of geometric forms was only ever going to make my life more difficult as a jeweller. She’s right of course. All those angles have to be perfect, and if they’re not it gnaws at you every time you look at the piece of jewellery. During the next class with Ignacio, when I was sure I had created my true corner angle, I was able to mark the other measurements for the ring on the slab, and spent the next hours filing, measuring and cutting.

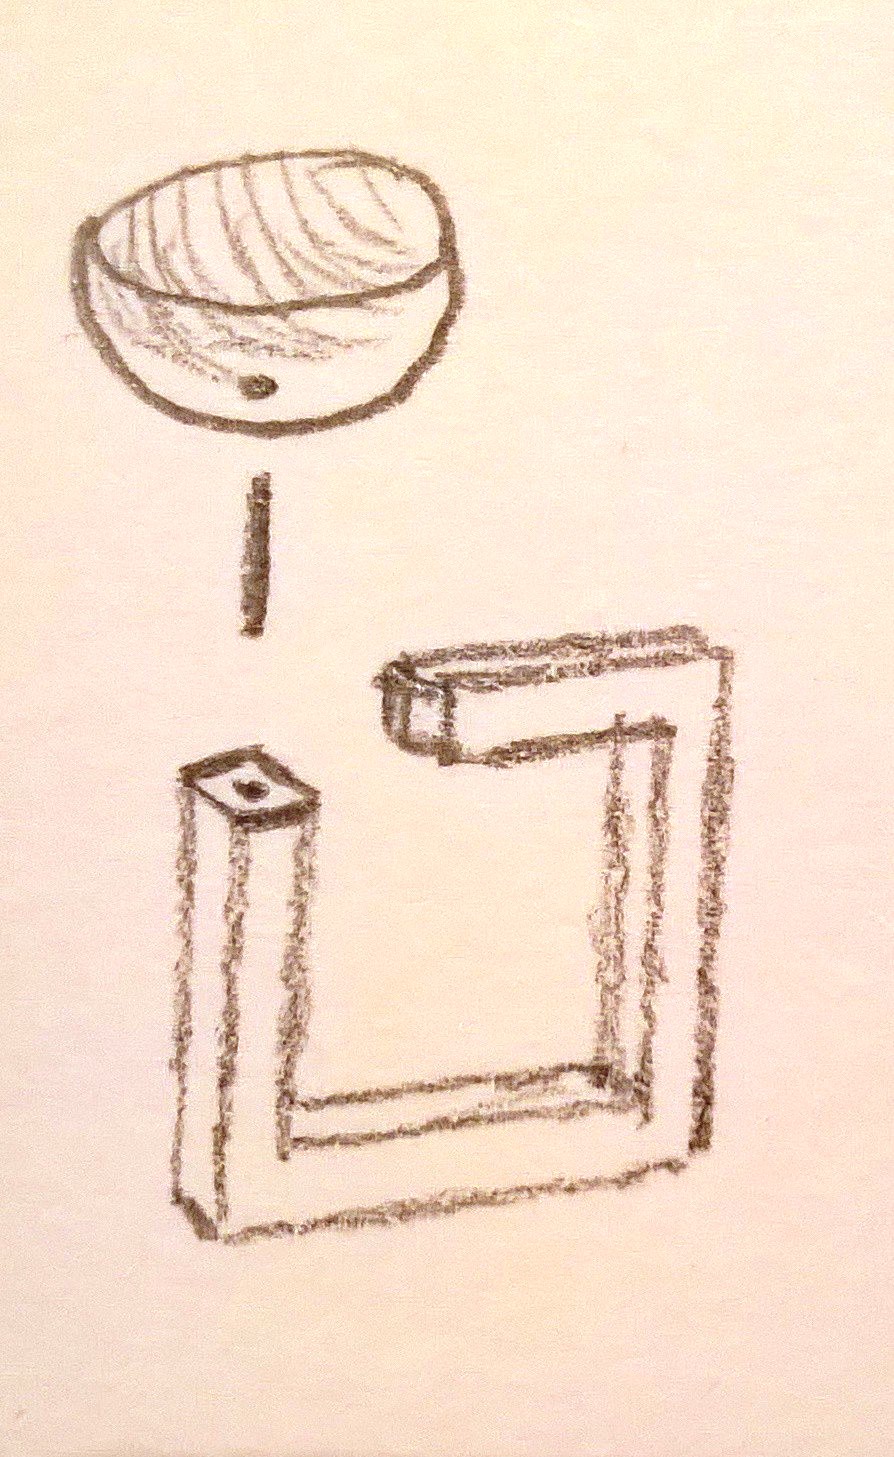
After the ring was cut from the slab and the cup had been prepared for the stone, the next step involved attaching the little cup to the ring shank. Normally I would just prop together the pieces of silver that need soldering and blast it with the torch. But for extra control this time, a hole had to be drilled through the cup, a piece of silver wire passed through it to act as a pin, and a corresponding hole drilled in the ring shank. This would allow for correct positioning of the cup before everything is soldered together. Once the holes were drilled I soldered the wire to the cup with a type of torch I had never used before, and felt as though I was once again a complete soldering novice. I then filed the section of the ring which was to hold the cup so that it curved a bit to accommodate it’s rounded shape. Once the components were all ready to meet each other Ignacio explained that it would be necessary to solder them in a way I have never previously attempted. He showed me how to heat the solder separately and attach it to the join with a metal probe, which completely filled any gap between the ring shank and the little cup. I realised I have a lot more to learn about soldering!
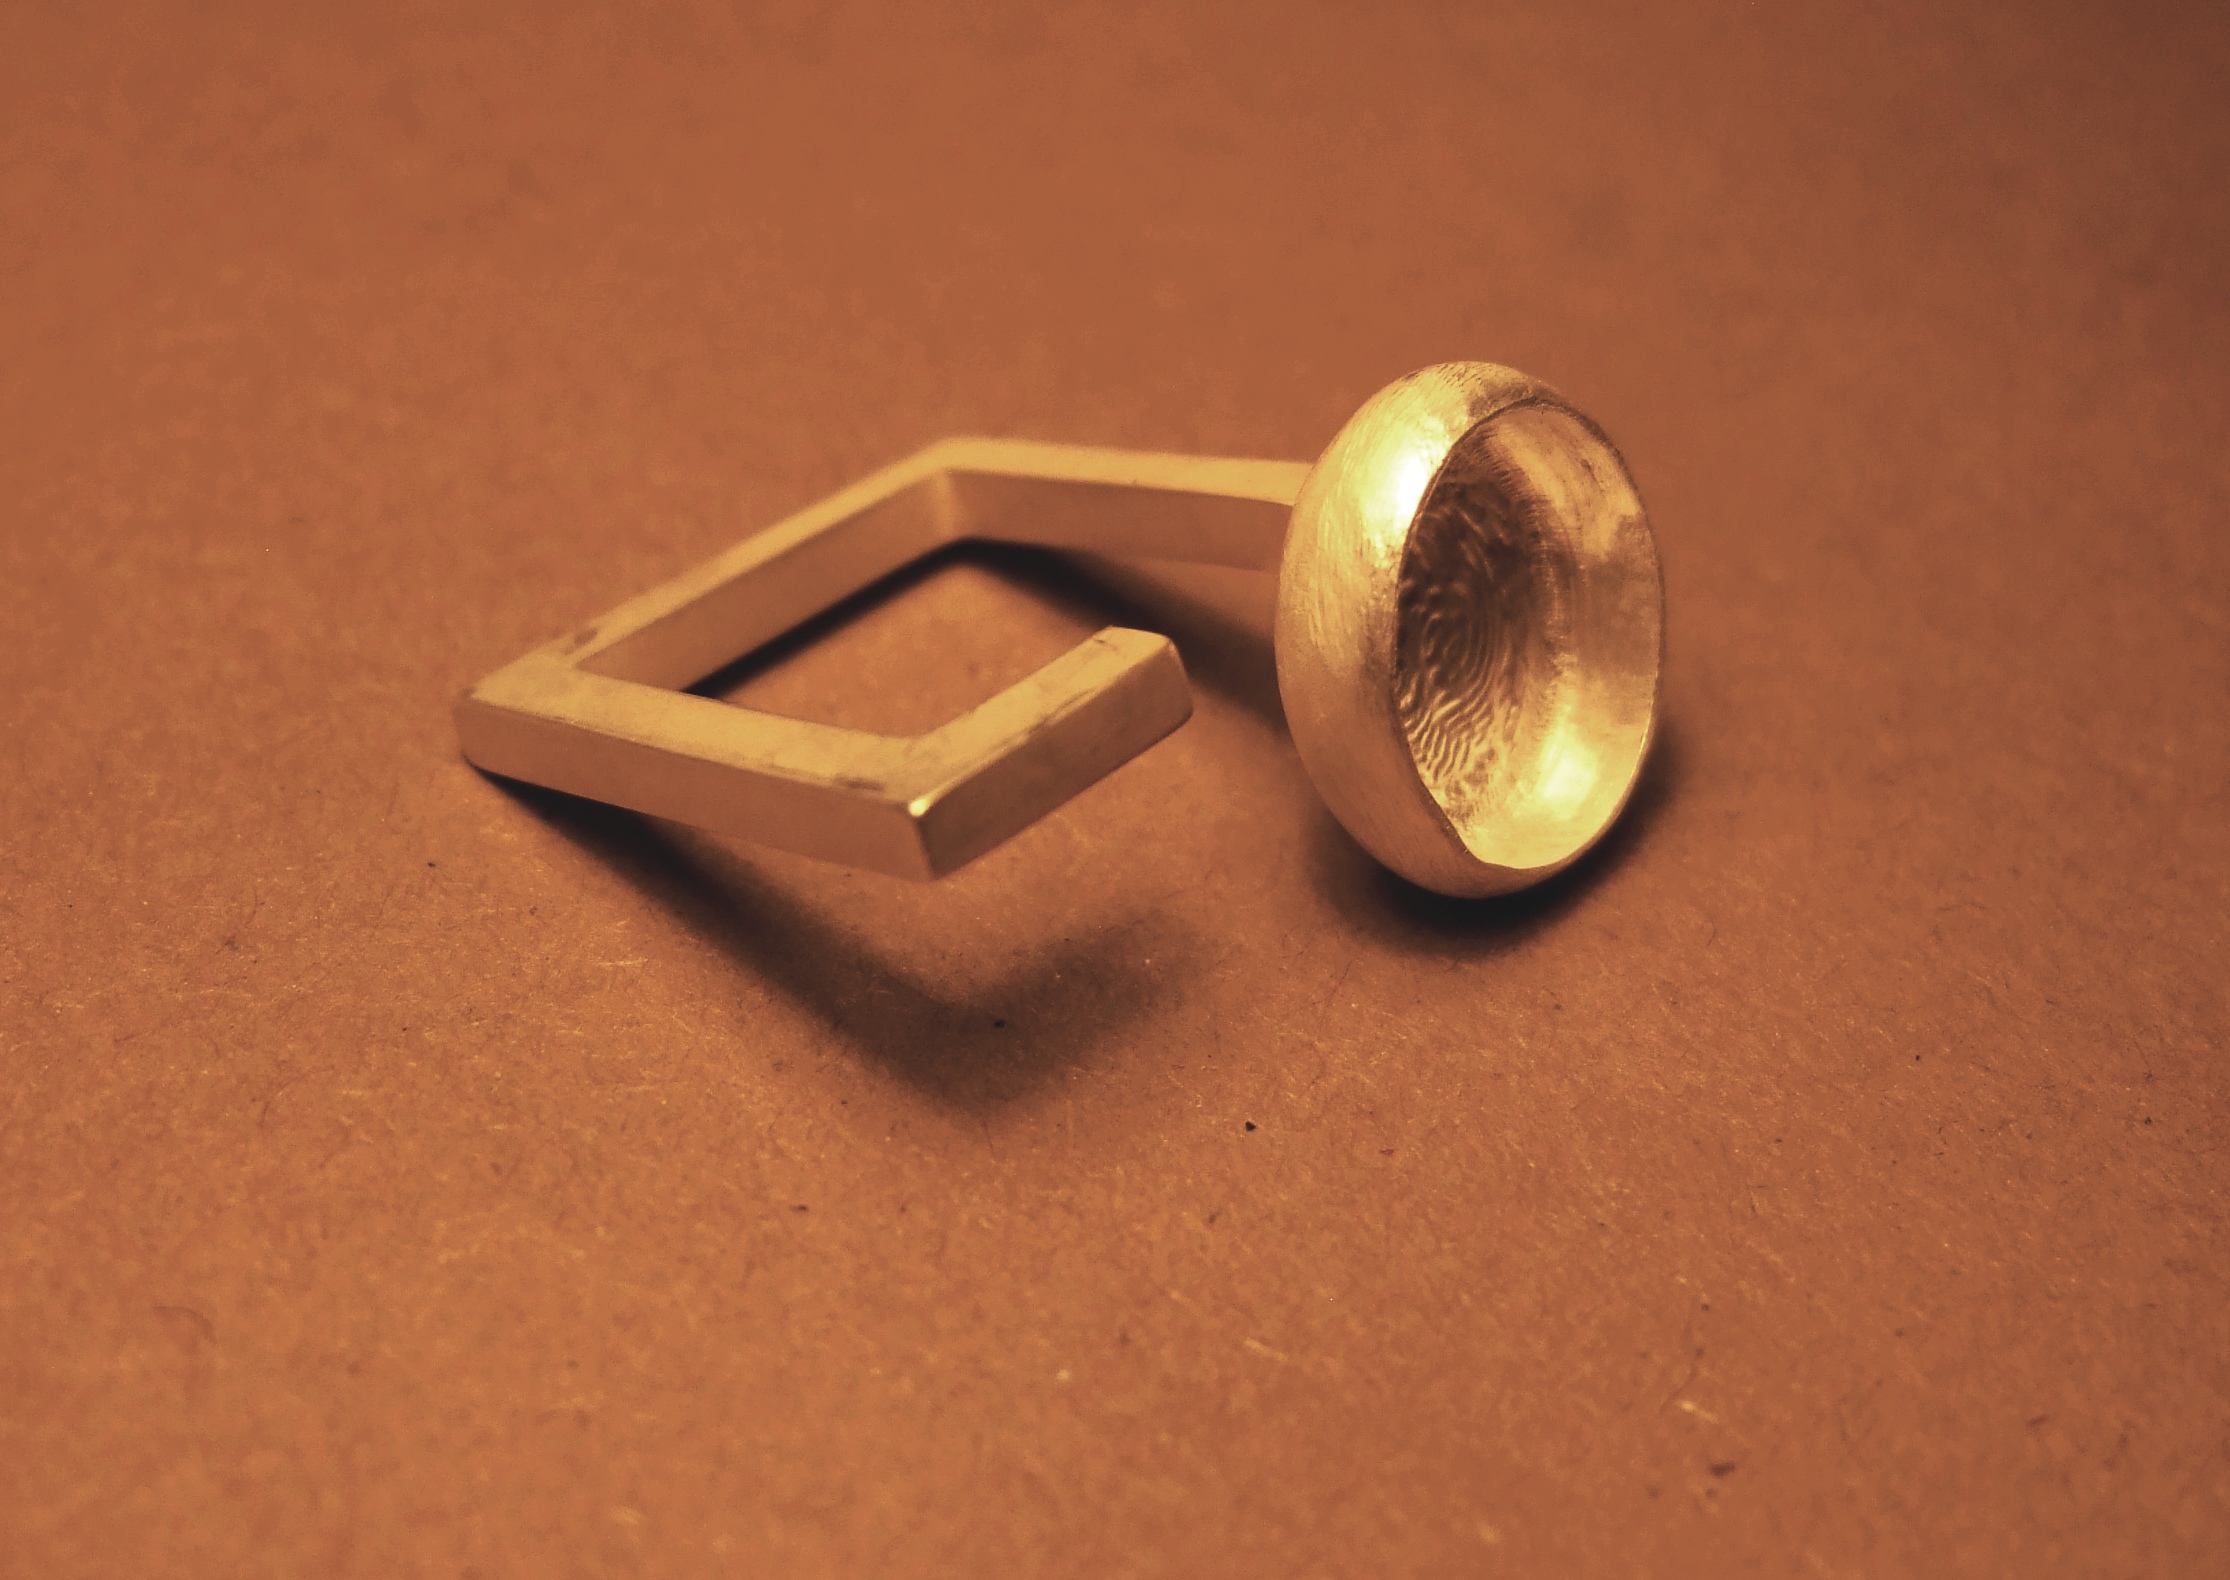
Although I had already determined which stone to use for this ring from the outset, it had only just occurred to me that I should find out exactly what this bluey black gemstone was. I asked Ignacio ‘qual ‘è questa pietra?’ and he said it might be a type of sapphire, but I should ask Agasi as he is the gemstone expert. Agasi took the stone and examined it under his microscope, using a piece of emery paper to gently abrade an inconspicuous edge. Bad news. It’s not a sapphire, it’s fluorite, which is quite a soft stone and not ideal for use in rings because it can be damaged easily. Ugh! I should have kept it for a pendant! Ignacio said we can still proceed but there is a risk that we will damage the stone as we are setting it. Or if we successfully set the stone there is always the risk that it will break if the ring is dropped. Oh well. All I could think about was the square shank that had taken so long to finish. I decided that if the stone breaks, either during setting or at a later date, I will just use the square shank again with a different stone. So tomorrow we will throw caution to the wind and attempt to set the stone. Fingers crossed!

One thought on “Square shank and a roundish stone”